
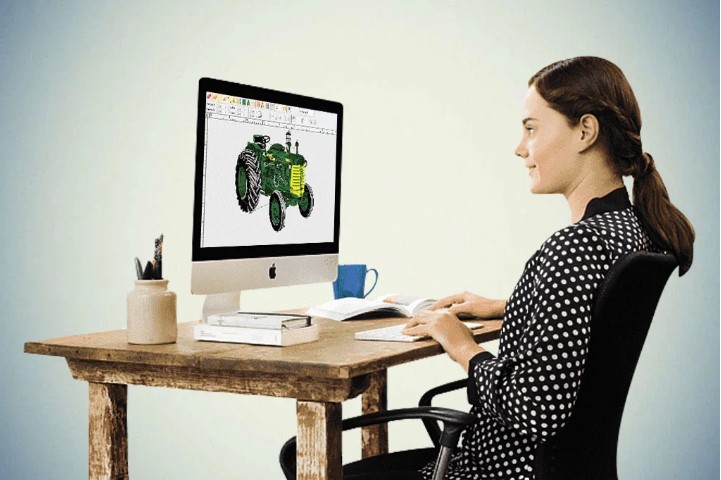
Color is the heart of any stitch design. It brings life to your work. It makes your design stand out. But many people face color problems. The design looks great on screen. Yet, it looks dull or off when stitched.
Many beginners deal with Color Issues in Embroidery Digitizing because they miss small steps. These small steps can change the whole result. The good news is that you can fix these issues with simple methods. You just need to know what to check and how to adjust.
In this guide, I will share easy ways to improve color quality. These tips come from real work and daily practice. They will help you get bright, clean, and pro results.
Why Color Quality Matters in Stitch Designs
Color is the first thing people see. It can make or break your design.
Key Reasons
- Makes your design look real
- Builds trust with clients
- Improves overall quality
- Helps match brand colors
If the color is wrong, the design will not look good.
Common Color Problems in Embroidery
Before we fix the issue, we need to know the cause.
Dull Colors
Colors look faded after stitching.
Wrong Shades
Thread color does not match the design.
Uneven Fill
Color looks patchy or rough.
Thread Breaks
This can affect color flow.
Step-by-Step Ways to Improve Color Quality
Let’s go step by step.
Step 1: Start with Clean Artwork
Good artwork gives better color.
Tips
- Use high-quality images
- Keep colors simple
- Avoid too many shades
Step 2: Choose the Right Thread
Thread choice is very important.
What to Do
- Use good thread brands
- Match colors with charts
- Test before final use
Step 3: Use Correct Stitch Type
Stitch type affects color look.
Satin Stitch
Best for a smooth and shiny look.
Fill Stitch
Good for large color areas.
Running Stitch
Used for small details.
Choose the right stitch for each part.
Step 4: Adjust Stitch Density
Density controls how tight the stitches are.
Why It Matters
- Too tight makes color dark
- Too loose shows gaps
Best Practice
Keep a balance based on fabric.
Experts at Absolute Digitizing always adjust density based on the design and fabric type.
Step 5: Check Underlay Settings
Underlay supports the top stitches.
Benefits
- Makes color look even
- Adds strength
- Keeps shape
Step 6: Match Colors Properly
Screen color and thread color are not the same.
How to Fix
- Use thread charts
- Compare samples
- Adjust shades if needed
Step 7: Test on Fabric
Testing is very important.
Why You Should Test
- Shows real color
- Helps find errors
- Saves time
What to Check
- Color brightness
- Shade match
- Overall look
Fabric and Color Quality
Fabric plays a big role in color output.
How Fabric Affects Color
- Dark fabric changes light thread
- Rough fabric hides detail
- Stretch fabric distorts color
What You Can Do
- Use proper backing
- Adjust thread color
- Test on same fabric
Lighting and Color Perception
Light can change how you see color.
Example
A color may look bright in one light. But dull in another.
Tips
- Check in natural light
- Avoid poor lighting
- Compare in real setup
Real Experience: What I Learned
From my work, I saw many color issues.
Lesson 1: Test Every Design
Even small designs need testing.
Lesson 2: Do Not Trust Screen Color
Screen and thread are different.
Lesson 3: Fabric Changes Everything
One time, I worked on a logo with light blue color. It looked perfect on screen. But on dark fabric, it looked dull. We fixed it by using a brighter thread. The result was much better.
Expert Tips for Better Color Results
These tips come from real work.
Keep Design Simple
Simple designs give better color output.
Use Fewer Colors
Too many colors can confuse the design.
Know Your Machine
Each machine behaves in a different way.
Work with Experts
Experts like Absolute Digitizing have the right tools and experience.
Common Mistakes to Avoid
Avoid these to get better results.
Using Low-Quality Thread
Leads to poor color.
Wrong Density Settings
Causes uneven color.
Skipping Underlay
Makes color weak.
No Testing
Leads to errors.
How Professionals Handle Color
Experts follow a clear method.
Their Process
- Check artwork
- Choose thread
- Set stitch type
- Adjust density
- Test and refine
Brands like Absolute Digitizing use this method to ensure clean and bright results.
Building Trust with Good Color Quality
If you work with clients, color matters a lot.
How to Build Trust
- Deliver accurate colors
- Show samples
- Be honest about limits
Clients trust you when your work looks clean and bright.
When to Get Help from Experts
Some designs are hard to manage.
You Should Get Help If
- Design has many colors
- Fabric is complex
- You need perfect results
Experts save time and give better output.
Final Thoughts
Improving color quality in stitch designs is not hard. You just need to follow the right steps.
Start with clean artwork. Choose the right thread. Adjust stitch settings. Always test your design.
Keep things simple. Learn from each project. With time, your results will improve.
If you want top-quality results without stress, you can trust services like Absolute Digitizing. They bring skill, care, and real experience to every design.
Stay patient. Keep learning. And your embroidery colors will always look bright and professional.